

作成したコンテナimageを管理する為にContainer Registryを利用し管理します。
ちなみにContainer Registryは、簡単に言うとGCPのコンテナイメージ管理をするツールです。
それでは設定の方を行いますが、GCPへの登録は省きます。
参考にしたGCPのContainer Registryのサイトはこちらをご確認ください。
Pythonバージョン確認
Cloud SDKのインストールを行います。python2.7を使うみたいなのでバージョンを確認します。
$python -V
Python 2.7.10
SDKのダウンロード
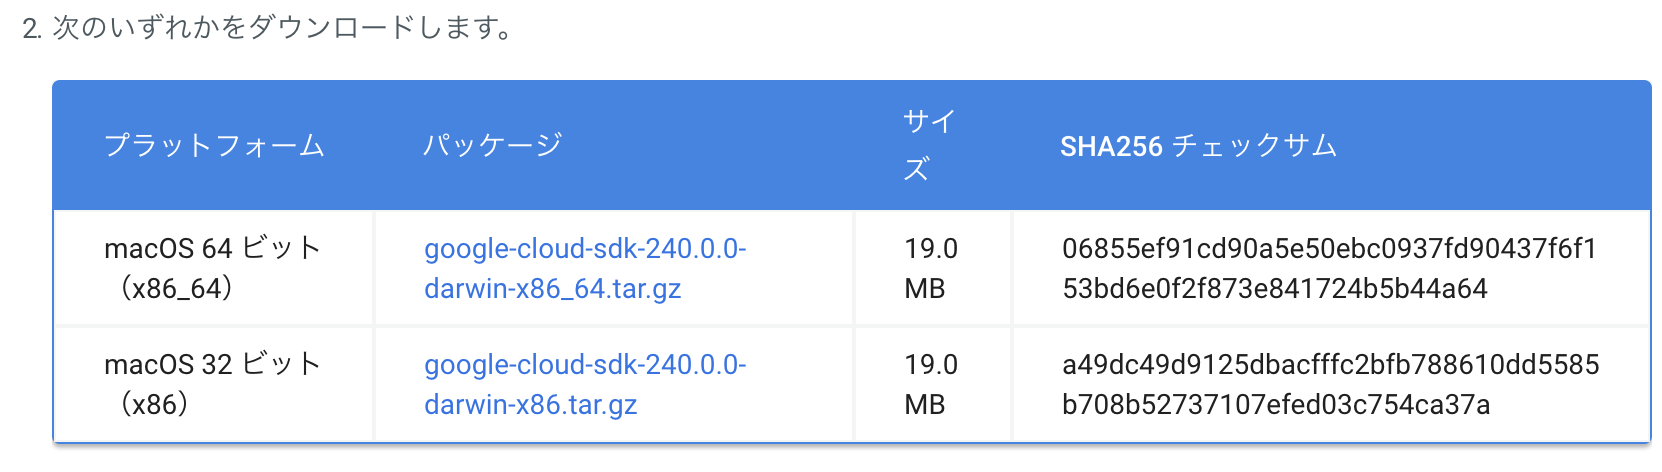
今回64bitのMacなので64bit版をダウンロードします。
尚、クリックしてdownloadしても良いのですが、自分はwgetでダウンロードを行います。
しかしwgetだとうまく動かないのでcurlでダウンロードします。
$ curl https://dl.google.com/dl/cloudsdk/channels/rapid/downloads/google-cloud-sdk-240.0.0-darwin-x86_64.tar.gz?hl=ja > sdk.tar.gzダウンロードしたSDKを展開します。
$ tar xfvz sdk.tar.gz
$ ./google-cloud-sdk/install.sh
・・・ 省略

gcloud config set disable_usage_reporting true
Do you want to help improve the Google Cloud SDK (Y/n)?  Y

・・・ 省略

Modify profile to update your $PATH and enable shell command
completion?

Do you want to continue (Y/n)?  Y

・・・ 省略

Enter a path to an rc file to update, or leave blank to use
[/Path/to/.bash_profile]: エンターを押す

・・・ 省略

==> Start a new shell for the changes to take effect.


For more information on how to get started, please visit:
  https://cloud.google.com/sdk/docs/quickstarts
SDKのインストールはこれ完了。
SDKの初期化
$ ./google-cloud-sdk/bin/gcloud init
Network diagnostic passed (1/1 checks passed).

You must log in to continue. Would you like to log in (Y/n)?  エンターを押す
エンターを押したらGoogleのログイン画面が表示されるのでログインします。
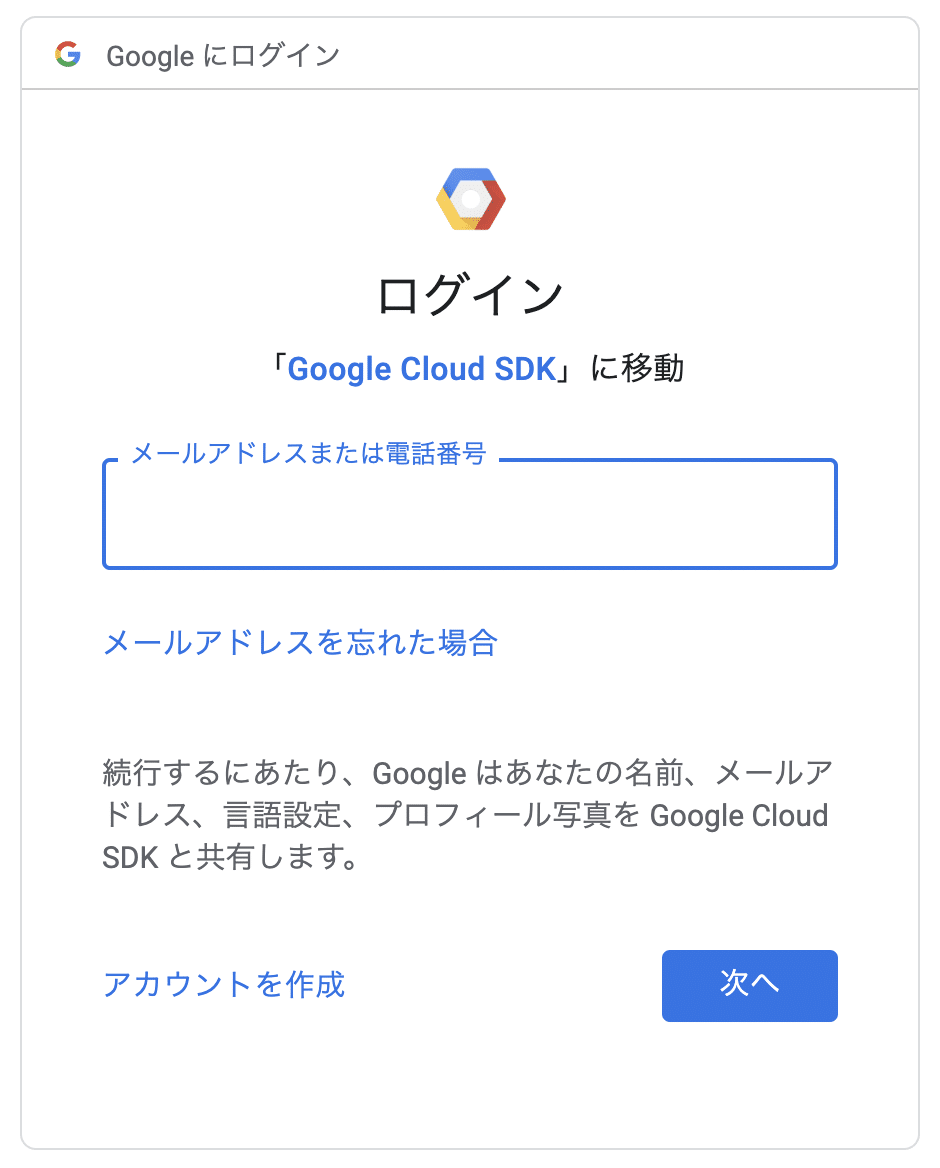
ログインをすると下記の画面が出ます。
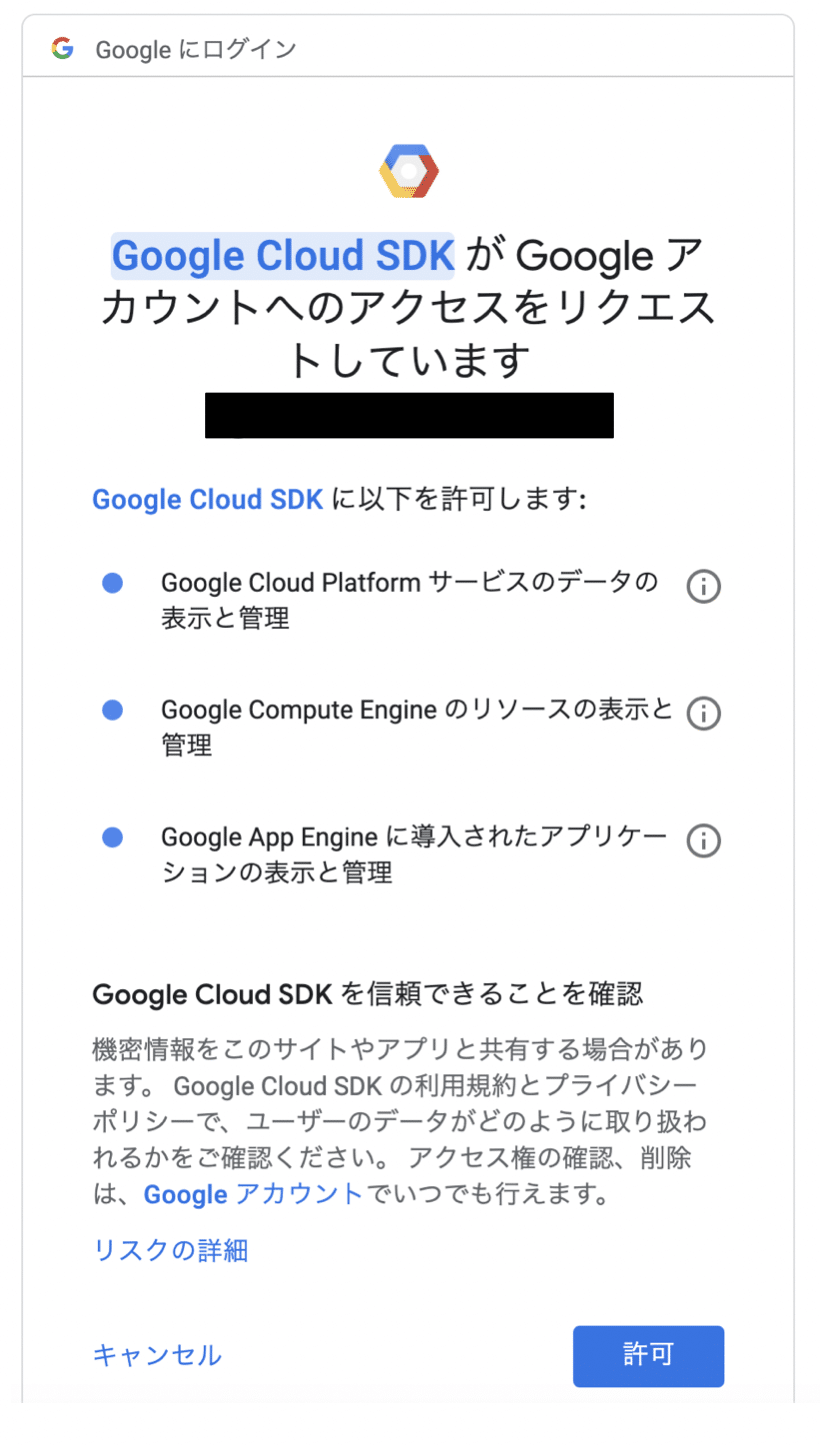
許可を押すと認証が完了します、完了したら下記の画面が出ます。
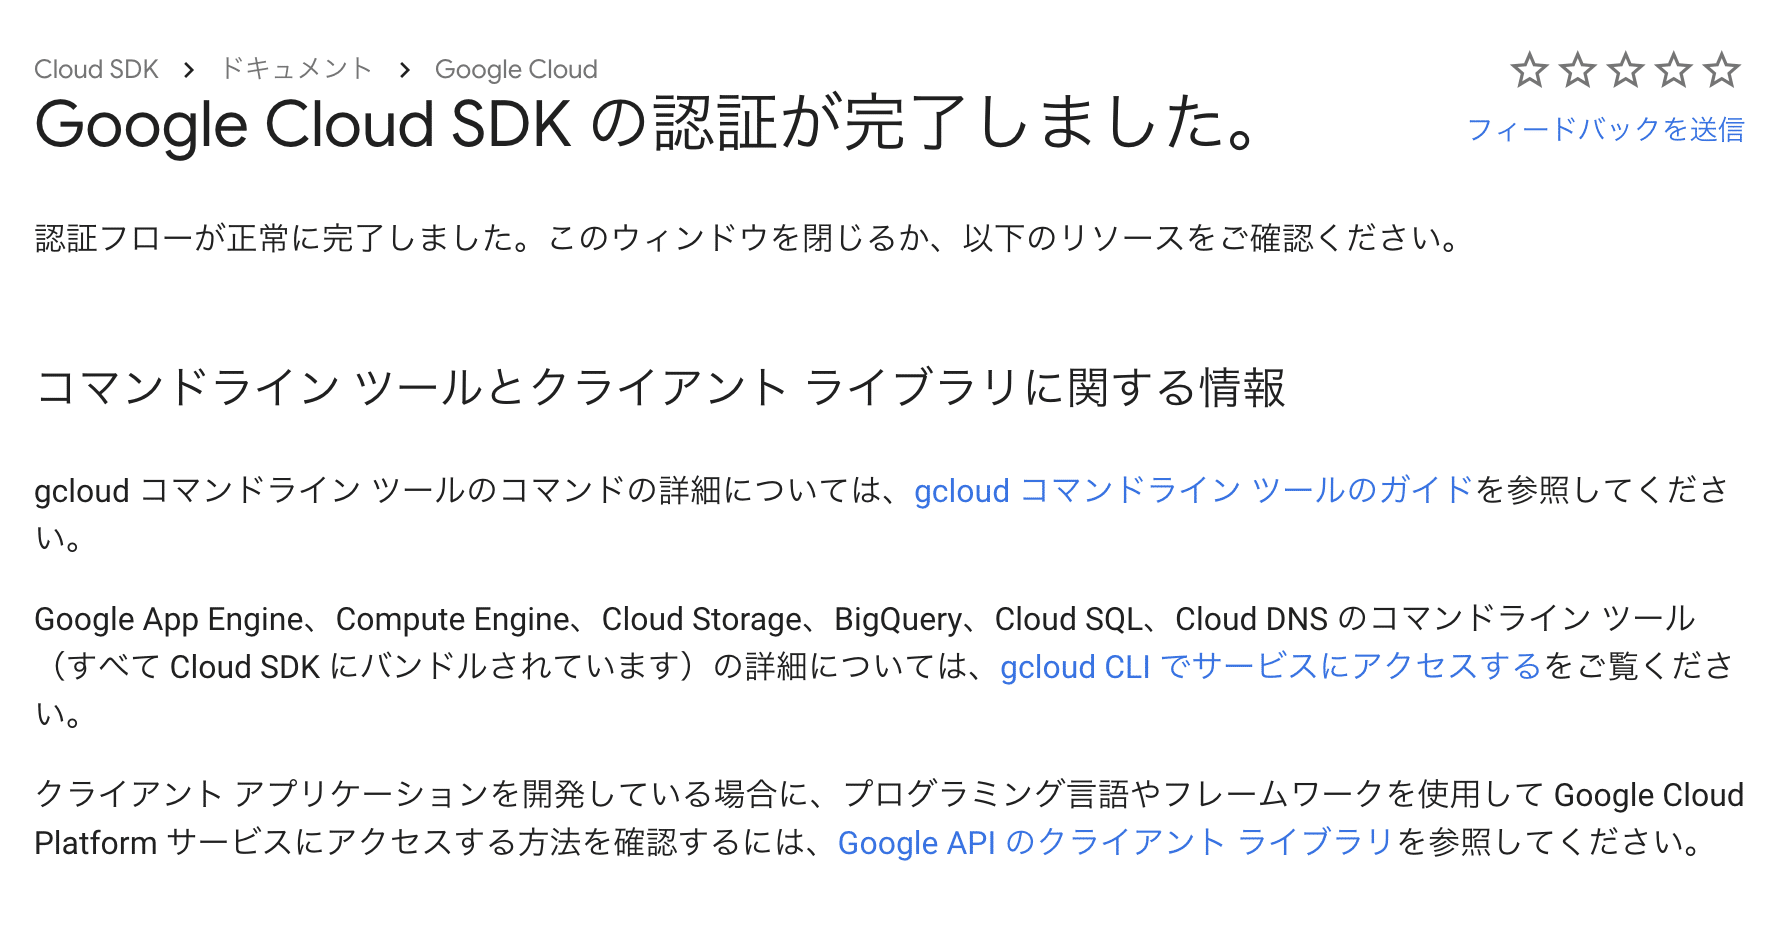
これでSDKのインストールは完了になります。
gcloudによる認証
次は、SDKのコマンドのgcloudを利用し認証します。
参考サイトを確認するとDockerをインストールしないと行けないみたいだけど、以前にインストールしているのでスキップします。
Pick cloud project to use:
 [1] 既存のプロジェクト名
 [2] Create a new project
Please enter numeric choice or text value (must exactly match list
item):  1

Do you want to configure a default Compute Region and Zone? (Y/n)? y

・・・ 省略

Too many options [62]. Enter "list" at prompt to print choices fully.
Please enter numeric choice or text value (must exactly match list
item): 34
今回既存のプロジェクトを利用するので1にしました。そしてRegionは東京の34にしました。
これでgcloudの設定は完了しました。
イメージのPush
前回作成したイメージを利用してCloud RegistryにPushします。
まずはイメージ名を変更します。そして変更したイメージをPushします。
$ docker tag my-mariadb:latest gcr.io/プロジェクト名/test:1.0
$ docker push gcr.io/プロジェクト名/test:1.0
The push refers to repository [gcr.io/プロジェクト名/test]
46802bfeb699: Preparing
f1b5933fe4b5: Preparing
unauthorized: You don't have the needed permissions to perform this operation, and you may have invalid credentials. To authenticate your request, follow the steps in: https://cloud.google.com/container-registry/docs/advanced-authentication
コマンドの説明をするとdocker tagで既存イメージをCloud Registryにpushする為の形式に変更する。
そして変更したイメージをdocker pushでCloud Registryにアップしました。
しかし認証失敗しているみたいなので再度認証してみます。
$ gcloud auth configure-docker

Do you want to continue (Y/n)?  Y

Docker configuration file updated.
イメージのpull
Cloud Registryをプルしたい場合は、docker pull [HOSTNAME]/プロジェクト名/イメージ名:タグ名で可能。
まとめ
最後は省略しましたが、基本的にはdockerのコマンドで問題ないです。
ただpushやpullのする為に、その警視に変更しないと行けないです。
次回からはSDKのインストールとプロジェクトの設定やリージョンの設定などは不要になります。
違うプロジェクトから呼び出したい場合とかだと変更しないといけないです。
なのでdockerコマンドは覚えるのは必須です。